Wedding Post Production Service Workflow, Weddings and photo editing is a challenging task for photographers. Photographers are sometimes left with hundreds or even thousands of images to work with after the shoot. If the deadline is tight, you are dealing with multiple sessions at once. We want to provide customers with excellent quality on time. So what is the solution. The solution is to follow a proper workflow.
A good workflow is beneficial in:
- keeping things organized
- saves time
- allow to deliver consistently high quality work.
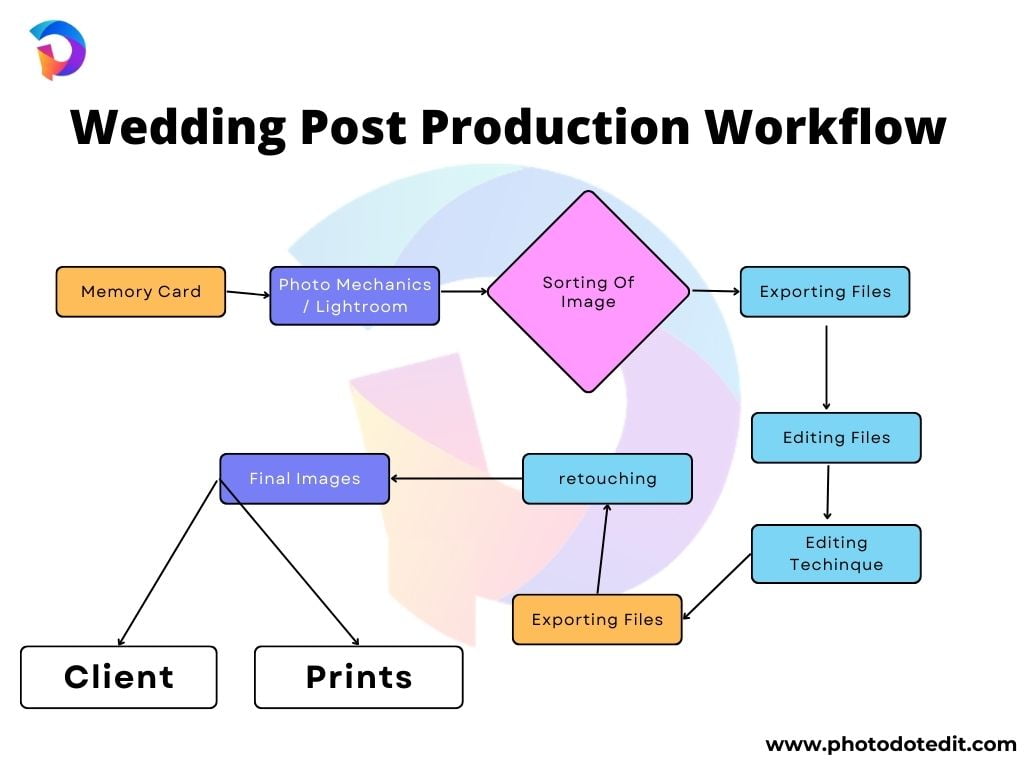
Things to remember while making a workflow:
Two key important things to remember when making a workflow are:
- Ease: Make sure the process is not complicate
- completeness: It is necessary to plan for every step. Otherwise things can slip, and the system collapses.
Wedding Photography Post Production Service Workflow
This is the basic workflow that should be followed by anyone starting with their wedding photography business. Every photographer has their own work flow. Each step has its own way of handling it. As you gain experience in your business. You, too, will start developing your own workflow that fits your style. However, it will give you a starting point for dealing with Wedding post production.
- Import and Backup
- Sorting of Images
- Editing Techniques
- Renaming the files
- Exporting Files
- Retouching
- Finalizing Product
- Copy-Righting
- Ready To Submit
Import and Backup The Files
The first major step in editing is to download/copy the images from the Hard Drive or Cloud Storage. Make sure you are using a good Hard Drive or Cloud Storage. Photoshop Lightroom or Photo Mechanic can be used to import photos. Using Photo Mechanic allows importing from multiple Hard Drive at once.
Photo Mechanic has an option to automatically add an alphabetical letter to duplicate file names. So in the case of shooting with two or more cameras in a wedding, there’s no need to worry about duplicate file names.
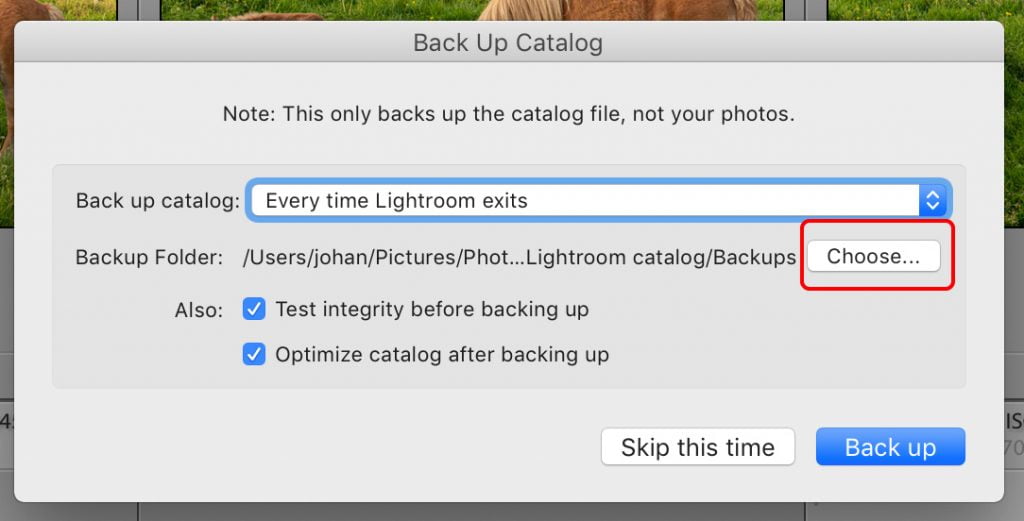
With both Lightroom and Photo Mechanic, one can select a secondary import location (such as an external hard drive, Cloud Storage and Card Reader). There is one important thing to always remember with any backup strategy. Which keeps multiple copies of the data (in case a file is corrupted or deleted).
Sorting of Images
Reviewing and selecting images is a huge task. Sorting is a skill that every photographer should develop. Reviewing photos and deciding which images should be delivered to the customer. Critical to growth as a photographer.
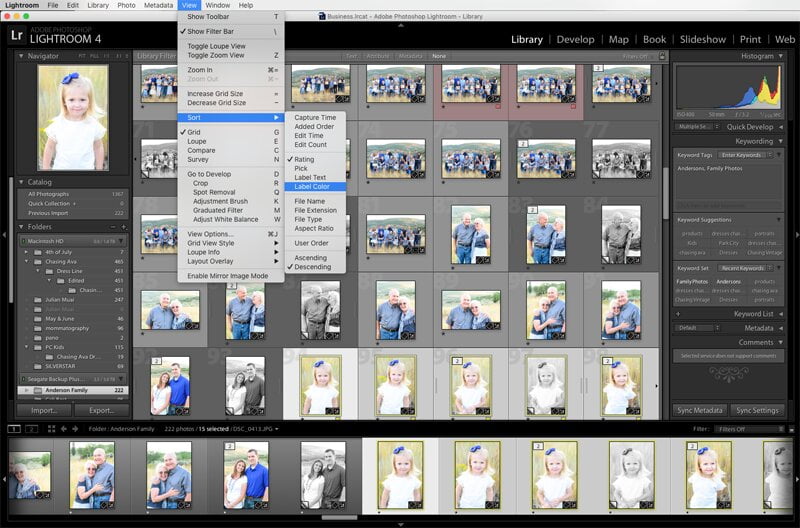
Finally, after you’ve sorted your images before importing them into Adobe Photoshop Lightroom Photo Mechanic, make sure you’re only importing those files. the ones you want to work on. It will also save time editing the file that needs to be included!
Go through all the images and make a quick decision based on instinct. Try not to waste time finely comparing photos to each other. It will only slow down the whole process.
Editing Techniques
After you have finished sorting the images, the next step should be to import them into Lightroom for editing.
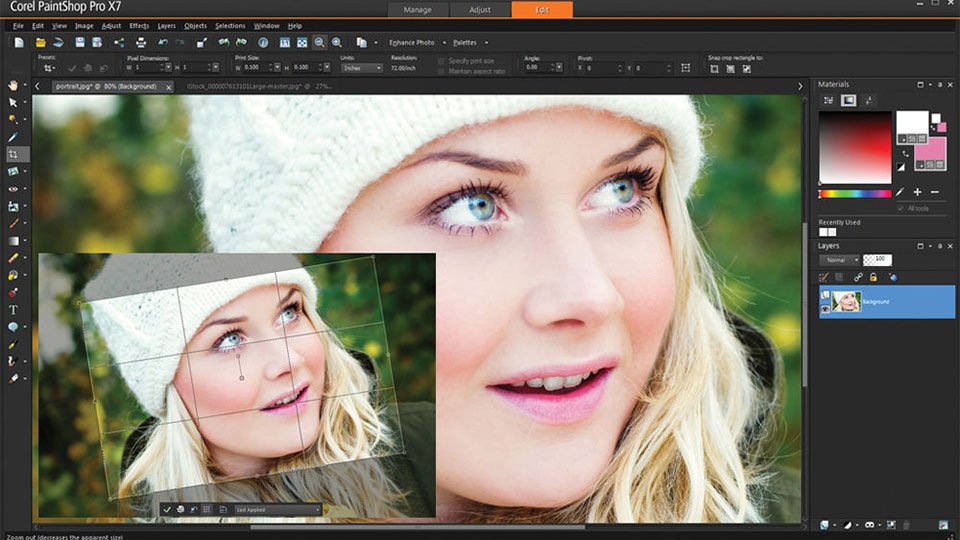
Lightroom is the most influential and commonly used tool for Wedding Photography.
- It does all the major editing.
- Quick adjustments can be made to white balance, exposure, contrast, brightness, saturation and more.
- It has various features like color effects, crop, dodge/burn, add/remove vignettes, light retouching, noise reduction, sharpen images and adjust tone curve.
- Start with the first image, make editing adjustments. Then move on to the next. In the case of similar photos, the adjustments can be synced. Which can save a lot of time.
- Alternatively, for a large group of very similar images, one can batch and edit them all at once.
- When the position of the light is the same. So the advantage of quick workflow features in Lightroom can be implemented.
Renaming the files
Since you have named the folder as “ClientName_date”, it only makes sense to rename the images as “ClientName_date_SerialNumer”.
Exporting files
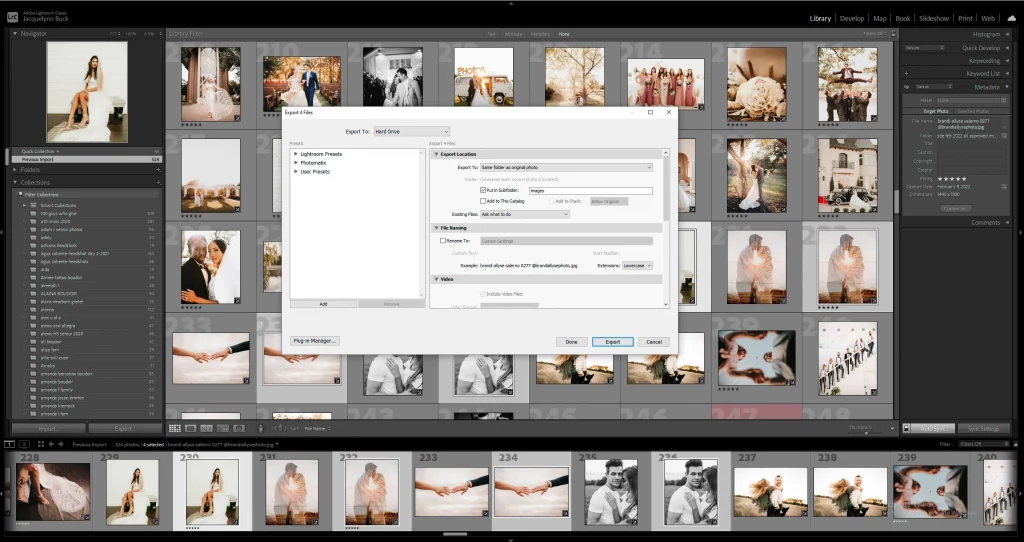
- After completing the editing process, the Export feature will be used to export them as JPEG. Export will be used at full resolution (300dpi) in the Adobe RGB color space.
- Also, at this stage the renaming of files with the client name is done, so that the numbering is sequential.
Retouching
Retouching can be handled in two ways:
Weddings: For weddings, only images that will go into albums or are ordered as prints will be corrected.
Portraits: For portraits, each image needs retouching. This is an extra job. That images cannot be purchased to retouch. But customers are less likely to buy the images. if they have not been corrected.
Tips to follow in Retouching
- Try to remove bags /dark circles under eyes, whiten teeth, heal blemishes, and remove any distracting elements (eg. exit signs in the background, garbage on the ground, etc.).
- Retouching needs to be realistic, especially when shooting “real” people (i.e. not models in a high fashion shoot).
Whereas all major image editing takes place in Lightroom. Improvements can also be made in Adobe Photoshop. To speed up the retouching part of the workflow, Autoloader Script for Photoshop can be used. Learning Photoshop and Lightroom is very easy by joining any professional Wedding post production institute. Which offers training in Adobe Photoshop Course and Lightroom Course.
Finalizing the product
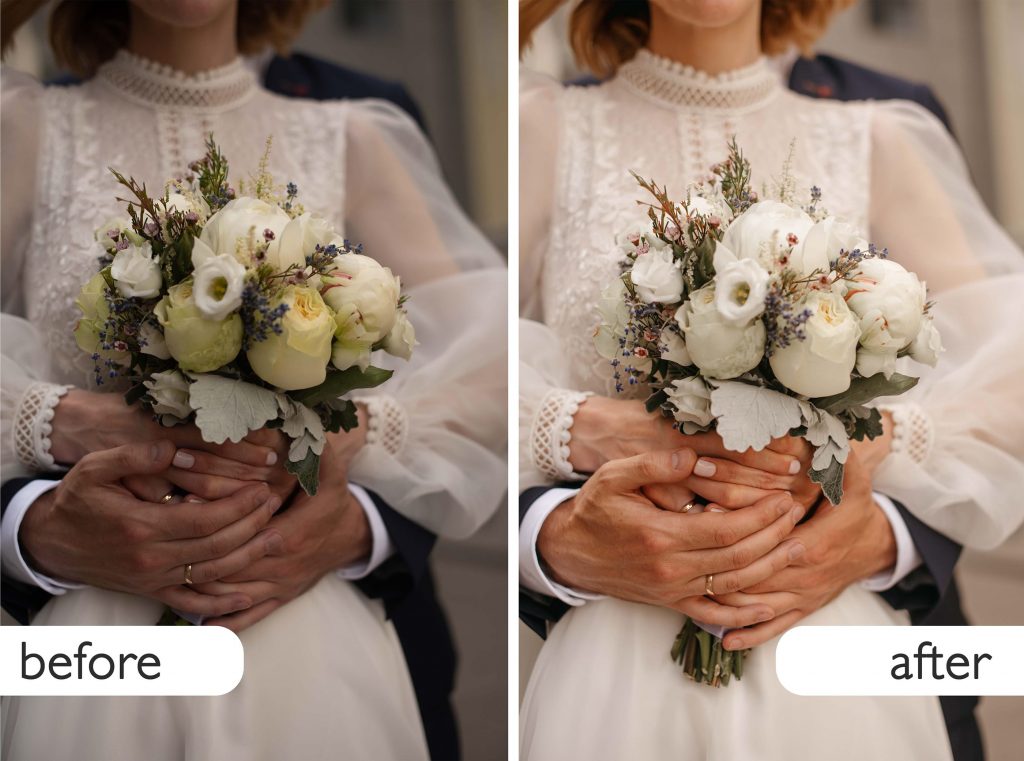
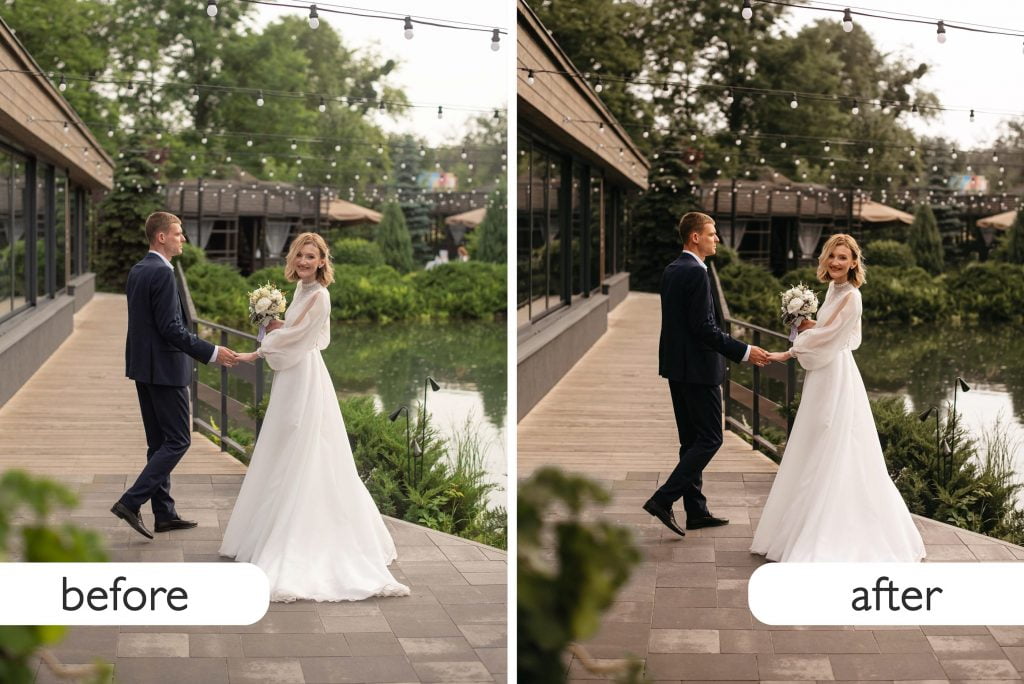
Before ordering the final images (album, print), just cross verify those things. For those that need no additional correction, brightness, contrast and color temperature are just right.
Copy Righting
You can add your own copyright information to the metadata of your image. This can be done easily through Photoshop and Lightroom. Copyrighting your images will ensure this. That no one will plagiarize your images to use them as stock or to use as their own claim. Not that your customers can do that. But it usually happens. When you share your images with your customers. So they will share it on their social media accounts. It is safe to assume that once your images are on the internet. So they become accessible to anyone, anywhere. Meta data is a good way to prove that your images are yours.

It’s also a good idea to add a copyright watermark to your images. However, make sure they are not too obvious. If you think someone will cut the logo from the corner. So you can place it right in the center of the image. But make sure you have turned down its opacity. So that when you show your images to your audience it will not cause intrusion.
Ready to submit
So that’s about it, once you’ve processed your images. So first share it with your customers in low resolution so that they can select the images they like. You may also get requests to change your edit. For example, if you edited an image in black and white. So they can request. that you restore the color in it. Once you are done with selecting the images and sorting them according to their suggested changes. Then you will be ready to submit your final images.
Check Our Wedding Photo Editing Service (Wedding Post Production) & Prices: click Here…
Looking for a Photo Editor & video editor?
Get a free quote within 24 hours!

